In this guide, I’ll explain how to watch IPTV on Kodi. We’ll tell you everything you need to know to get started with Kodi IPTV. This guide applies to all the devices that support Kodi, like Amazon FireStick, New FireStick 4K, New FireStick 4K Max, NVIDIA SHIELD, Windows, Mac, smartphones, and tablets.
How to Watch IPTV on Kodi with PVR IPTV Simple Client
As I mentioned above, we’ll first use Kodi’s official PVR IPTV Simple Client to stream IPTV. We’ll start by installing the PVR addon. After that, we’ll configure it and check out how to stream live TV channels. Lastly, I’ll list some great sources for M3U playlists. Let’s get started.
Part 1: Install the PVR IPTV Simple Client
The PVR IPTV Simple Client addon lets you set up IPTV on your device. So let’s install the addon.
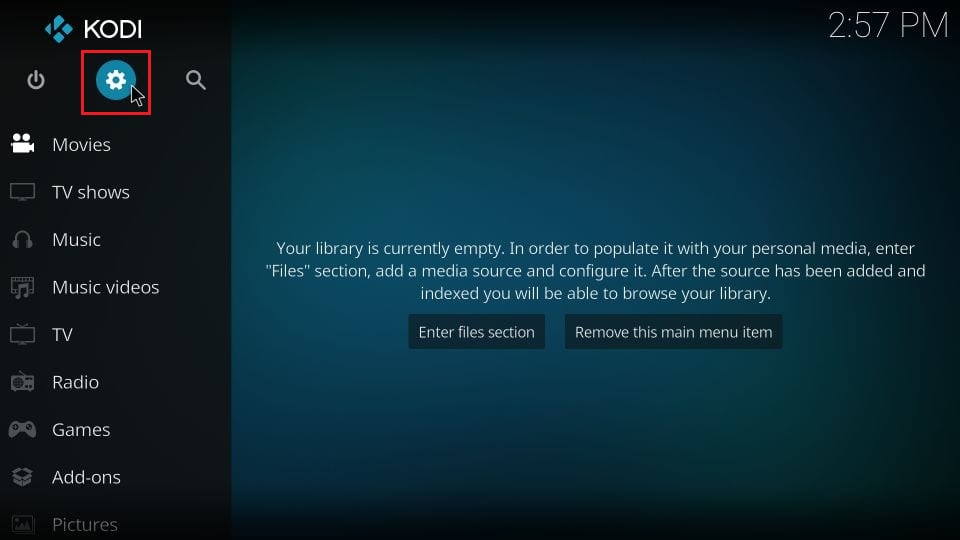
1. Launch your Kodi application. Click on the Settings Gear in the top-left corner, just below the Kodi logo.
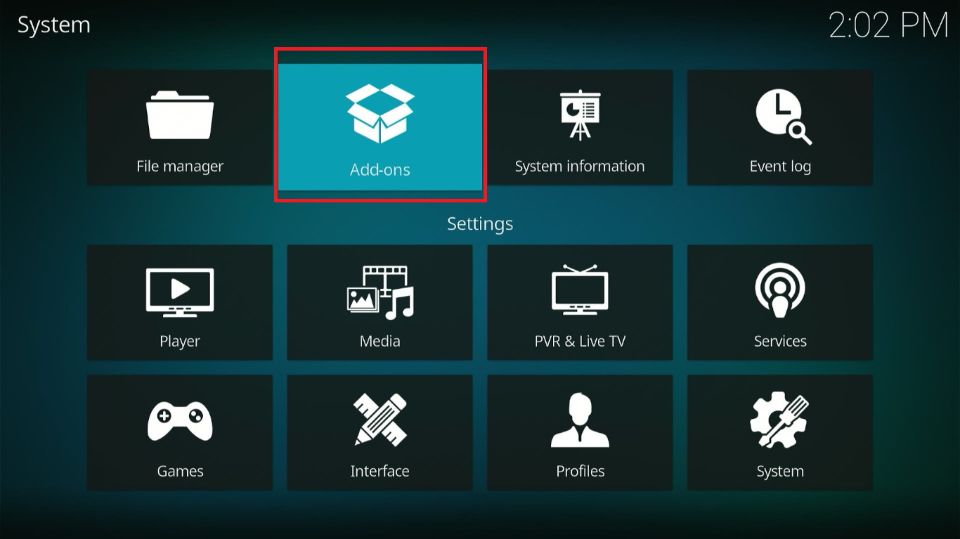
2. On the next page, select the Add-ons option.
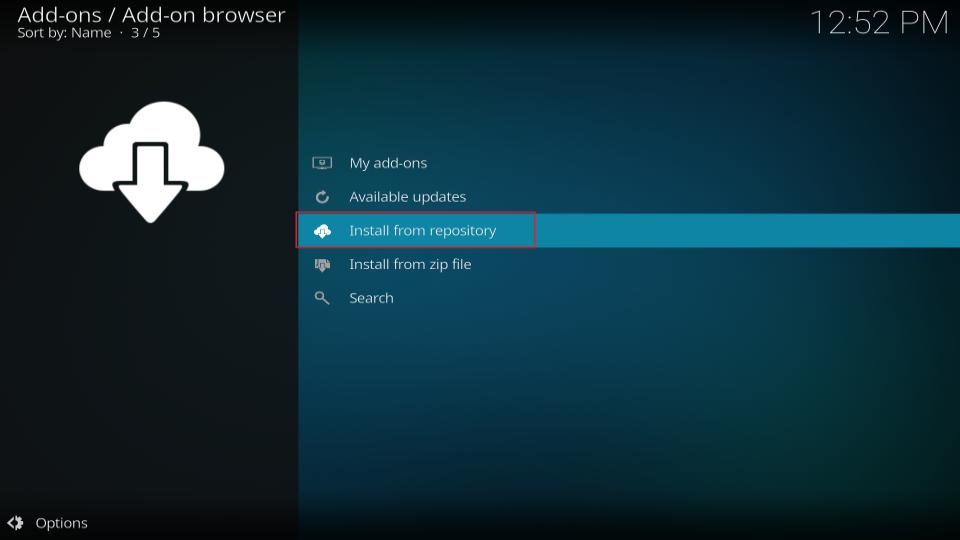
3. Then, click on Install from repository.
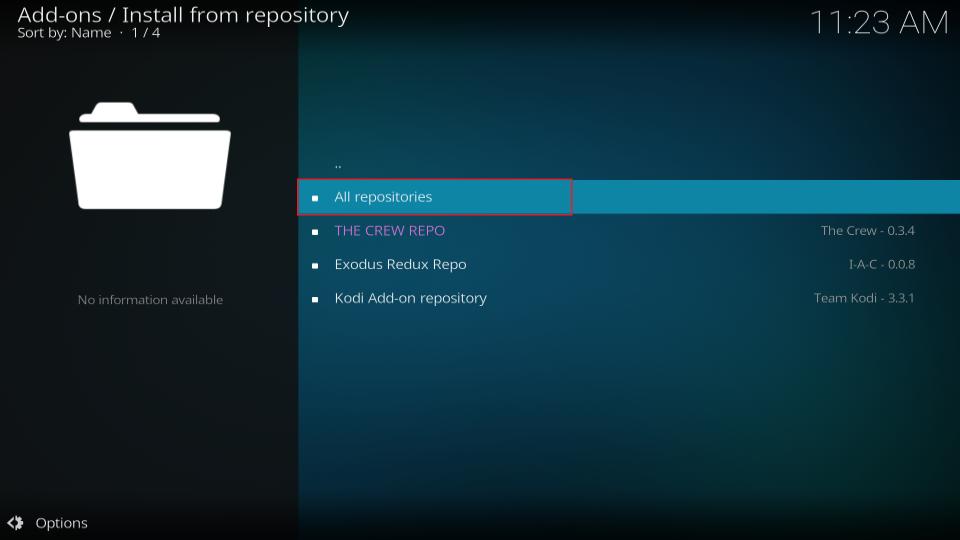
4. Select All repositories.
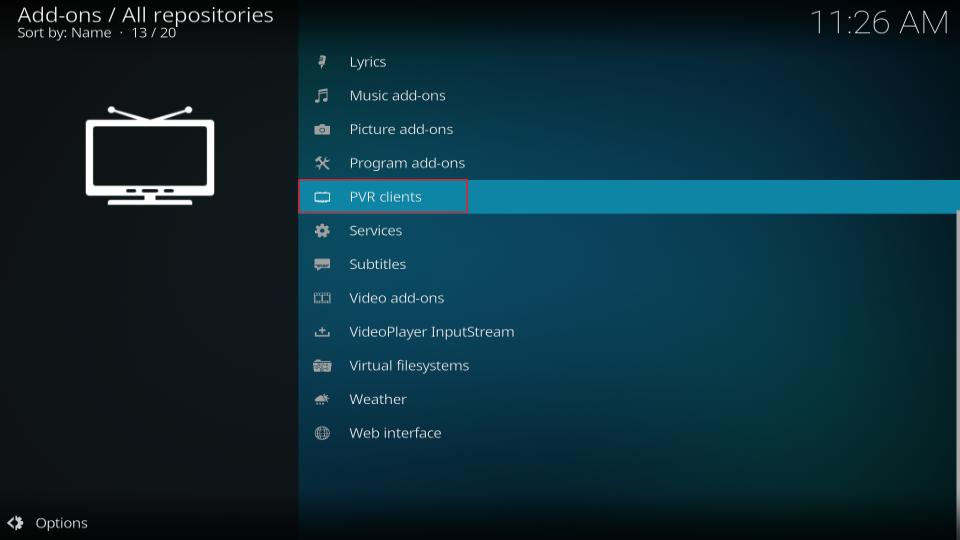
5. On the next screen, scroll down and select PVR clients.
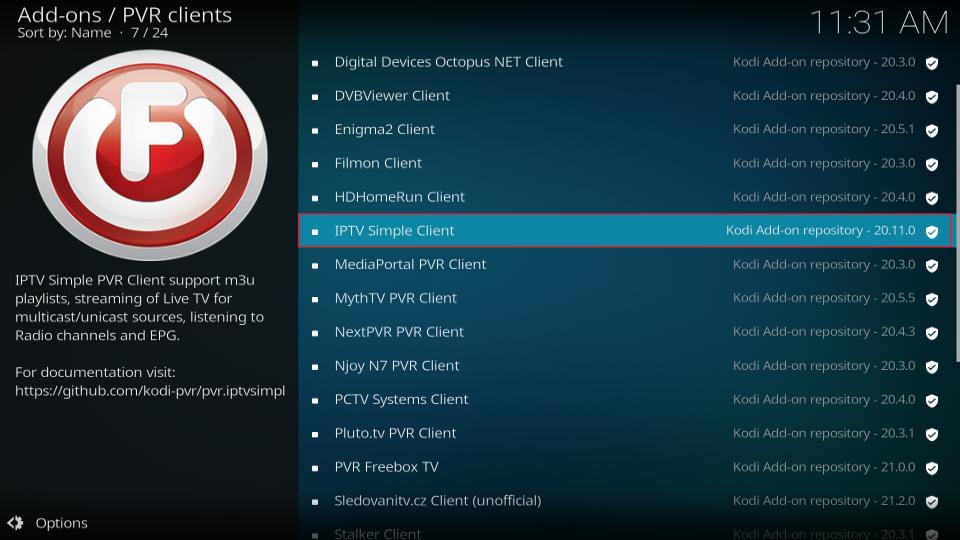
6. Then, scroll down and select PVR IPTV Simple Client.
**
**
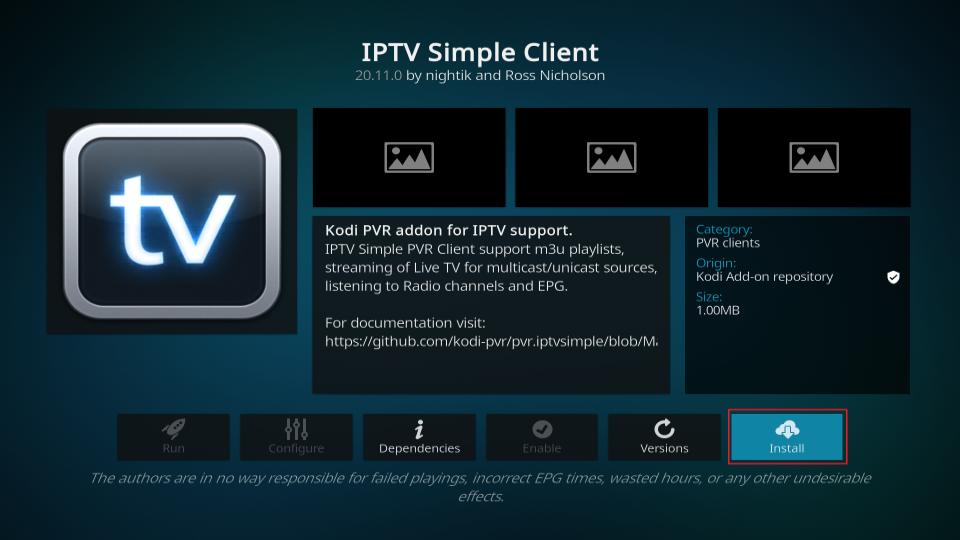
7. The addon’s dashboard will open. Select Install.
**
**
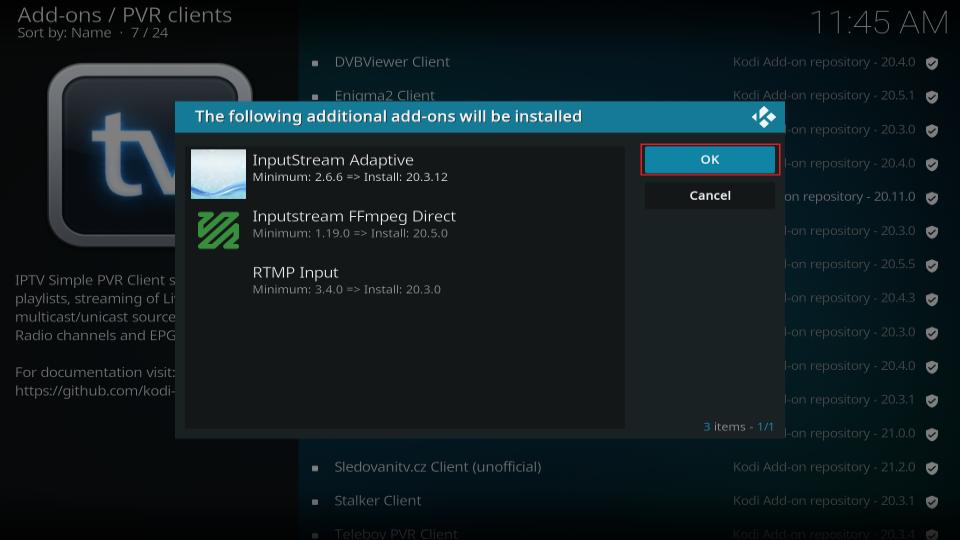
8. Click OK to install the necessary supporting addons.
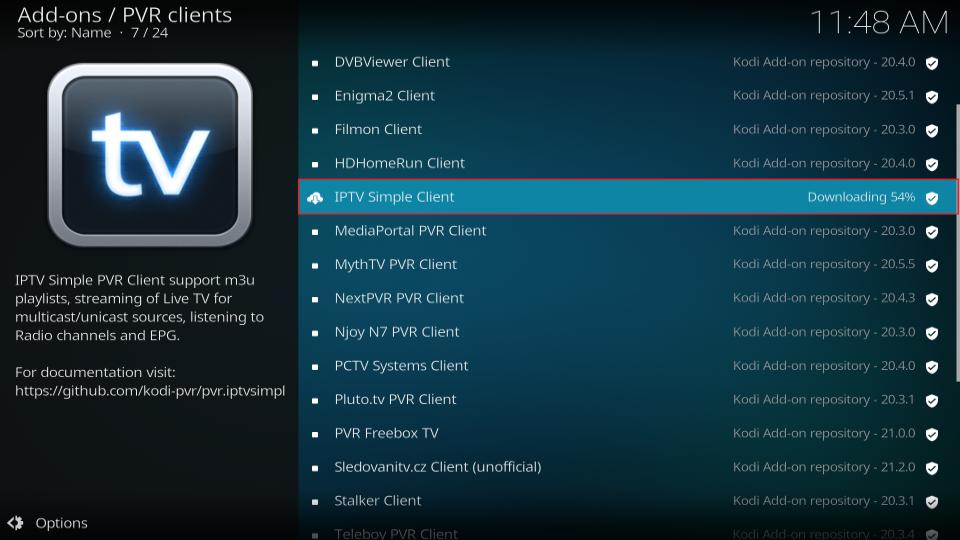
9. PVR IPTV Simple Client will start downloading on your Kodi app.
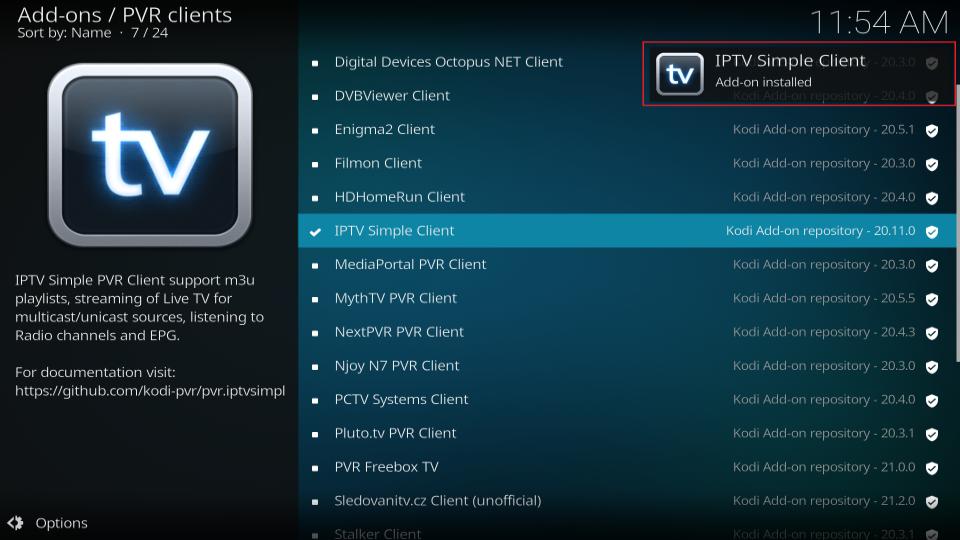
10. Lastly, you’ll see an Add-on installed notification in the top-right corner of your screen.
Part 2: Add an M3U Playlist to PVR IPTV Simple Client
Congratulations! You have successfully installed the PVR IPTV Simple Client on your Kodi app. But it’s of no use if you haven’t configured it the right way. Follow the steps below to add a playlist to the addon for streaming IPTV:
1. On the same screen, select PVR IPTV Simple Client.

2. On the dashboard of the addon, select Configure.

3. Then, go to the General tab.

4. Within the General tab, scroll down and select M3U playlist URL.
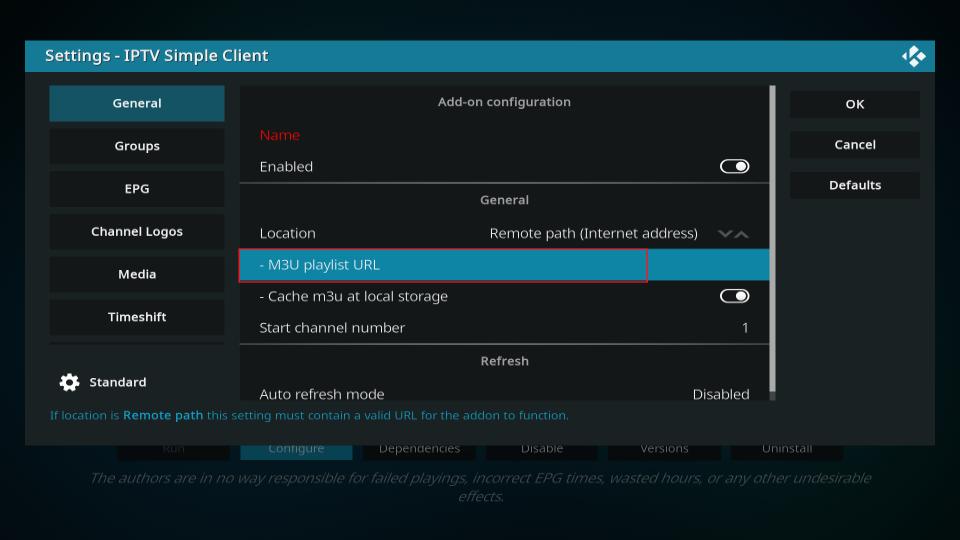
5. A window with a keyboard will pop up. If you have an M3U playlist of your own or from your cable provider, you may enter it now to add it and click OK.
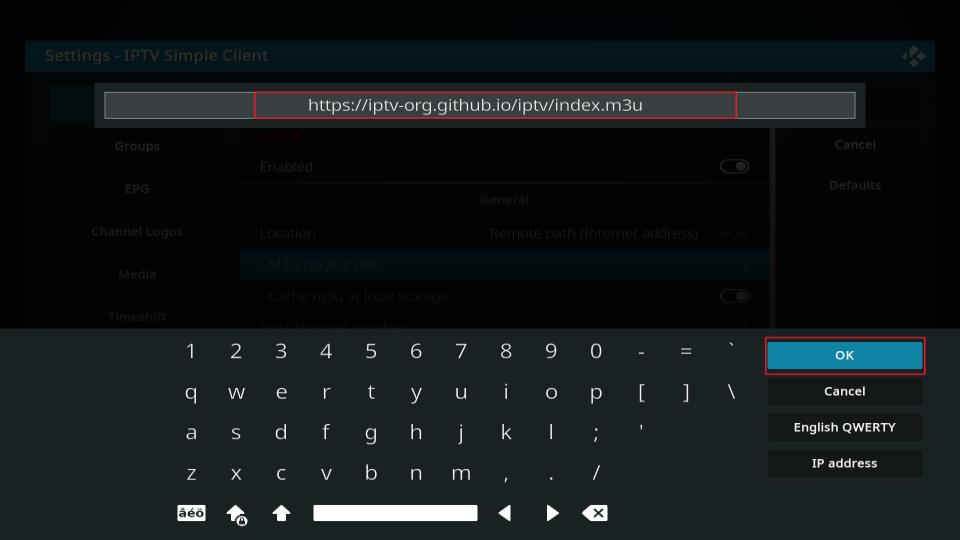
6. Click on the OK button.
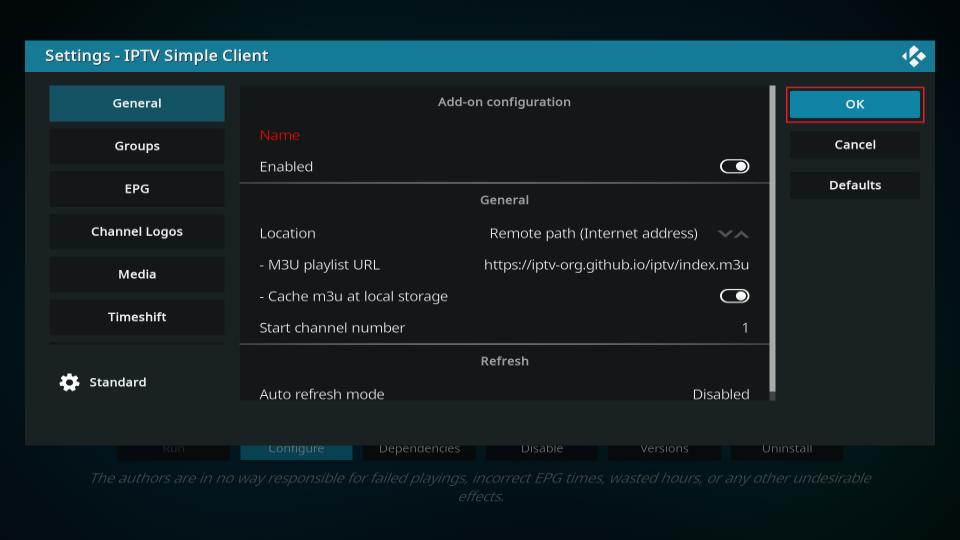
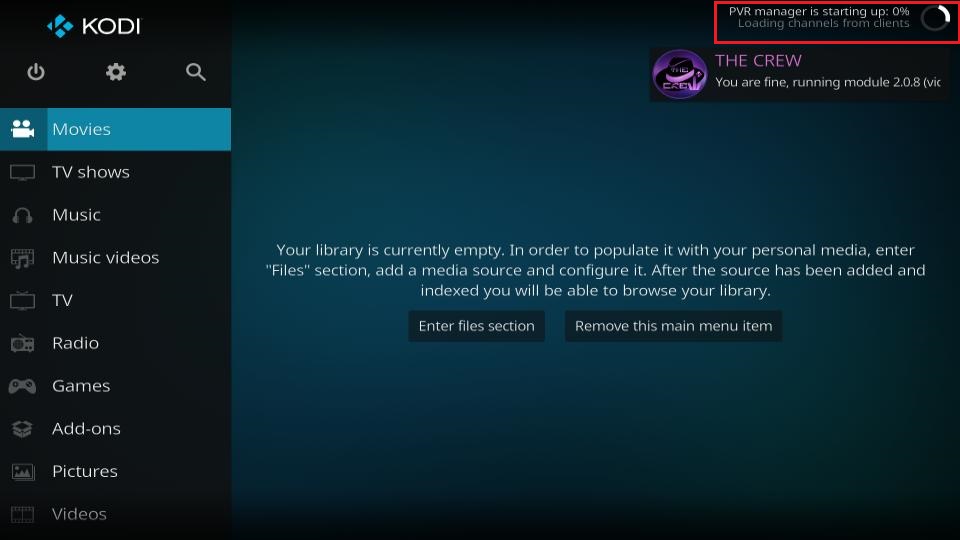
7. Exit and then restart your Kodi application. After restarting, PVR IPTV Simple Client will launch automatically. The PVR addon will start loading the channels from the M3U playlist you entered. Wait for the addon to finish importing the channels.
How to Watch IPTV with the PVR IPTV Simple Client
When the channels have been added, scroll down to the TV tab in Kodi.
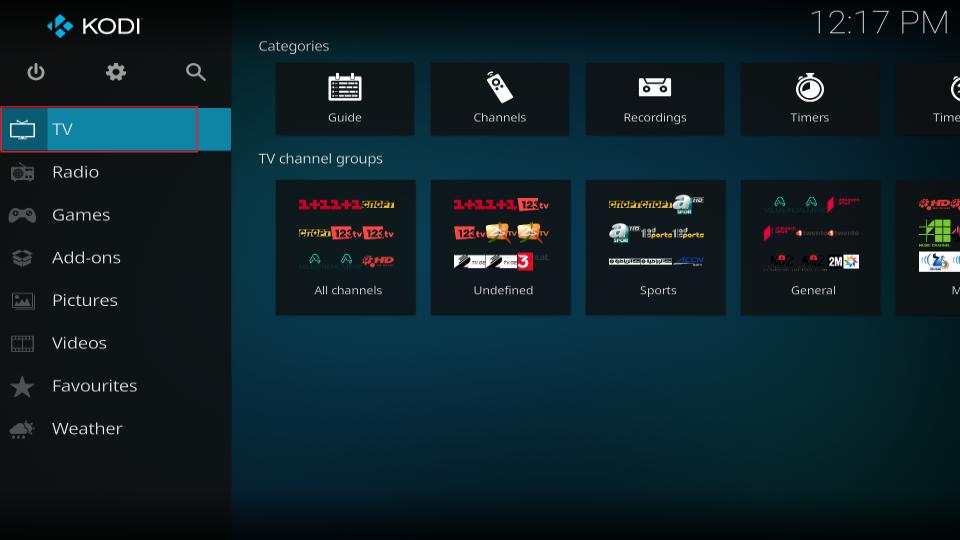
Then, scroll to the right and click on the Channels option.

You’ll see the list of all channels from the M3U playlist(s) you’ve added.
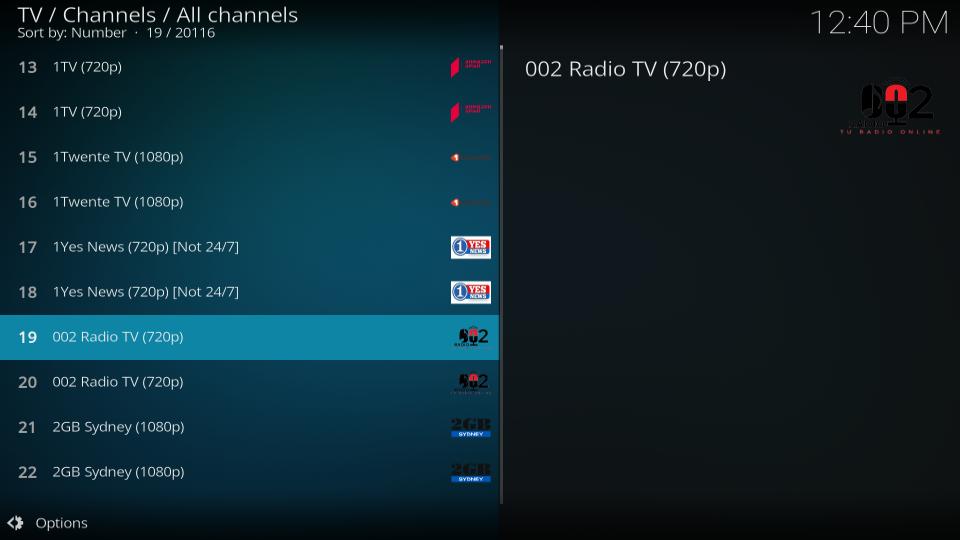
Select any channel, and after a few seconds, it will start playing.
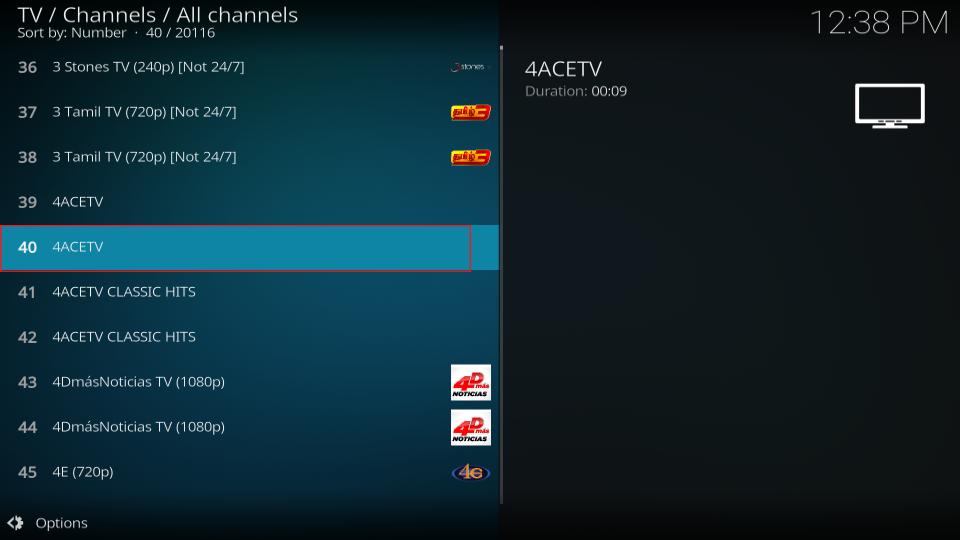
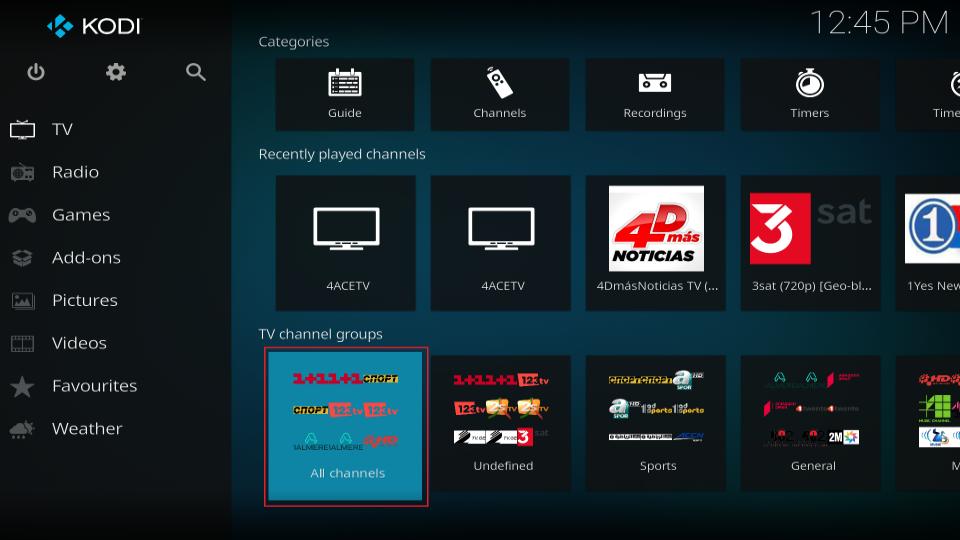
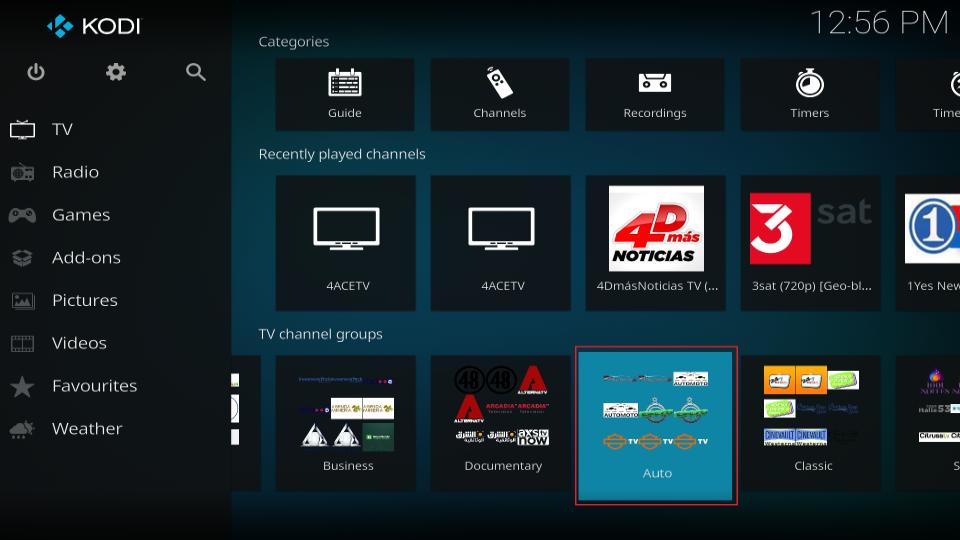
Go back and scroll down to the row labeled TV channel groups. Here, you can access categories of channels. The All channels tile is another way to access the list of all available channels.
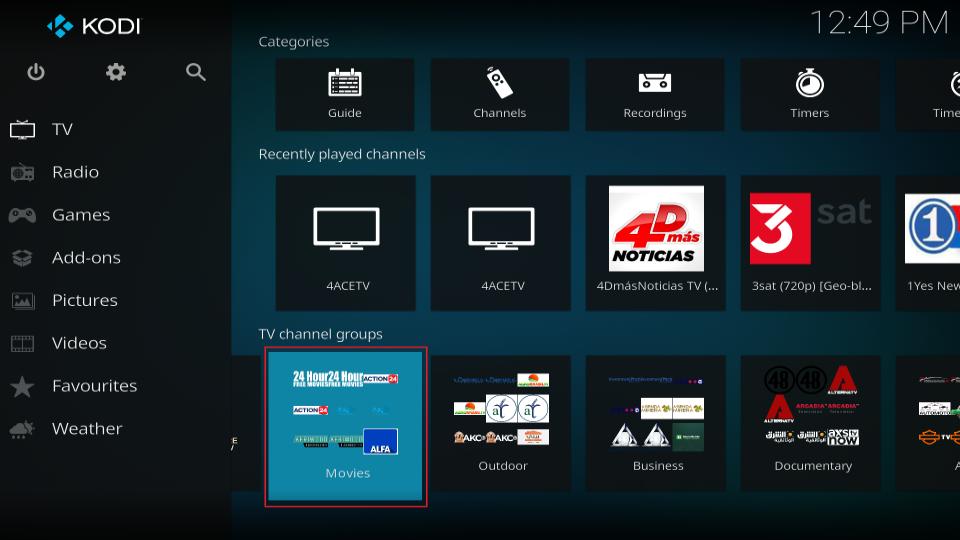
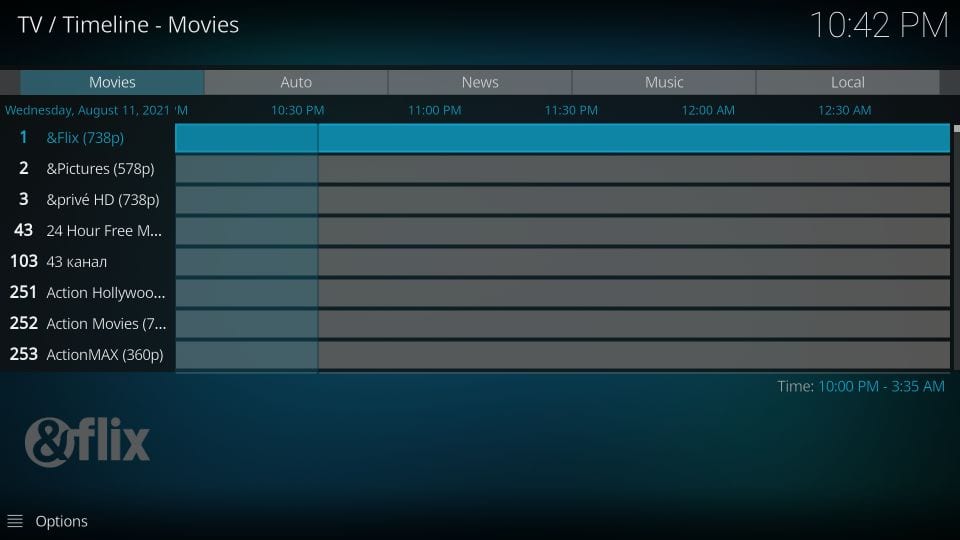
The Movies tile lists the movie-related channels.
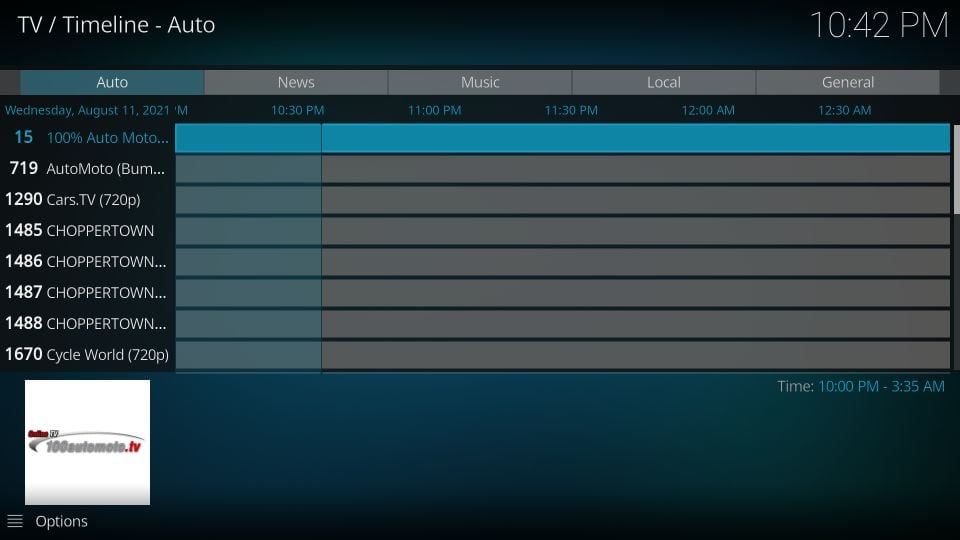
The Auto tab lists all the channels related to auto sports.
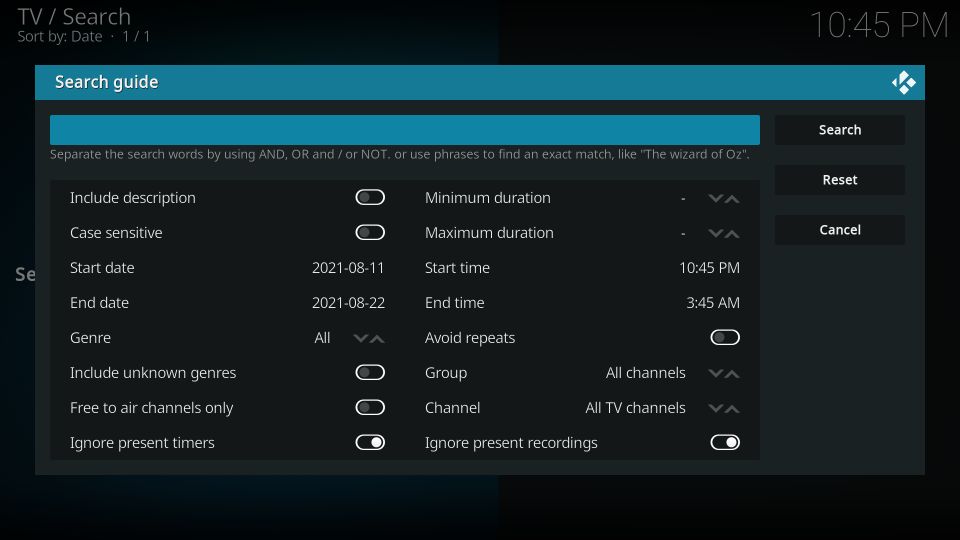
To search for specific channels, scroll up within the right portion of the screen and select the Search option at the far right of the top row.
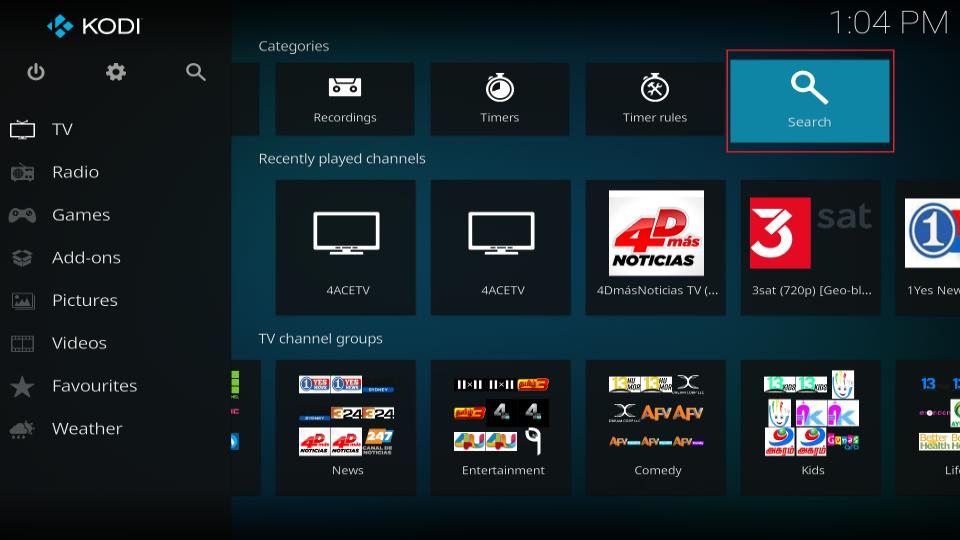
Then, click on Search…
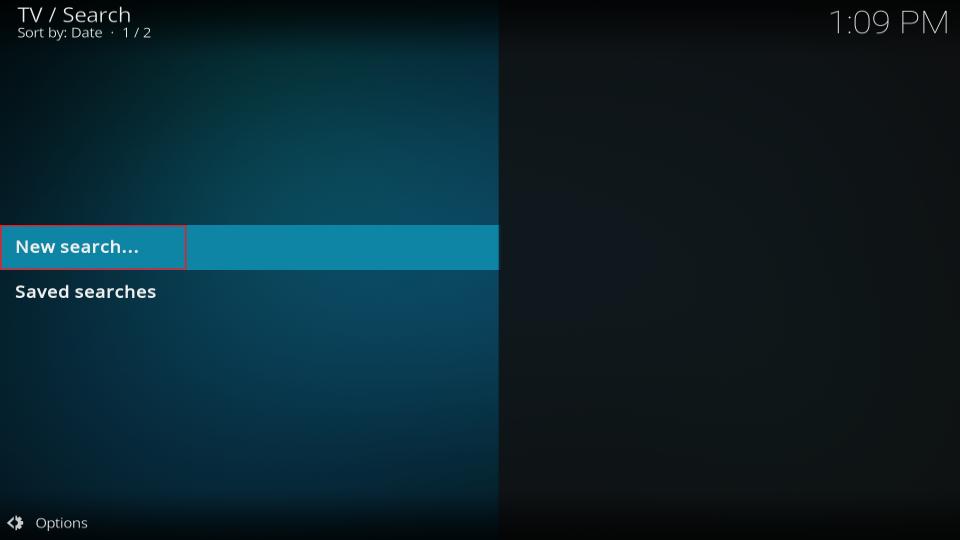
Type in whatever you want to look up and click on the Search button. Make sure to read the instructions and check out the search settings so you can make the most of the search tool.
